


This month, food writer The Grazer, aka Anna Hedworth, is mostly making salami…
My on-going interest in preserving food has led me recently to homemade salami, which turns out to be reasonably easy with the right equipment. Start with a pork shoulder and trim it of any sinew or fat. I ended up with about 700g of chopped meat. You also need 200g of back fat. Slice the pork shoulder into pieces, discarding all fat and sinew, and then dice it so you end up with 1cm cubes. When the meat is done, dice the back fat into cubes about half the size. You want tiny pieces of fat running through it.
Now, salt the meat. I decided to do two different types of salami, so I divided the pork into two bowls of half fat and half meat. The amount of salt is critical for the curing process, so you should weigh everything accurately. You must add at least 25g of salt to every 1kg of meat. Each of my bowls weighed 422g so I added 10.5g Maldon sea salt crushed finely in a pestle and mortar to each.
For flavouring the first batch, I decided on a simple combination of ½ tsp fennel seeds, ½ tsp black peppercorns and 1 clove of garlic, all crushed to a paste.
The second batch was a bit more adventurous and more French in style, with red wine and walnuts. I added ½ tsp black peppercorns, 2 crushed juniper berries, 1 clove of garlic, again crushed to a paste, along with a handful of chopped walnuts and a splash of red wine. I mixed both bowls to combine everything thoroughly and put them in the fridge to mingle for a few hours. Next comes the stuffing. I ordered 38mm natural hog casings for the job, a salted pig’s intestine, and soaked them overnight to remove the salt and soften them up. They come bunched up tightly on a tube ready to pull off and pipe in the sausage stuffing (they don’t smell very nice).
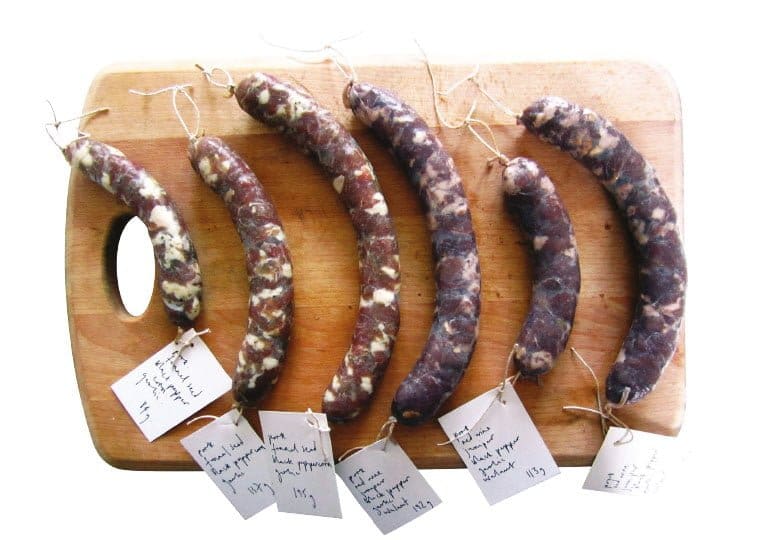
If you have a mincer they often have a sausage stuffing attachment, or you can use a small sausage funnel or pack it by hand, making sure it is packed full and squeezing out any air bubbles as you go. I got there finally and ended up with six salami in total. I tied each end with string, tying the intestine into the knot so it doesn’t slip through when you hang it. Each salami needs to be labelled with its full ingredients and its weight. The salami is ready when it has lost 30% of its weight.
Hang your salami inside for a few days while the skins dry out and tighten up, then hang them either outside, under cover or in a draughty porch or garage.
Read more from the Grazer at the-grazer.blogspot.com