


Decorating a cake is easy with melted chocolate and Maltesers, but Rosie McGlade goes to a whole other painstaking level at Blackfriars Restaurant’s cake decorating course
We’re blessed at appetite with photographers who are lovely to work with, but when you’re doing a job like this, it’s Peter you want in the room. Peter because he loves cooking, baking particularly, and his enthusiasm is entertaining. Plus, now that he has learned how to ice a cake and pipe on icing, you can bet he’ll put it into action.
 So it was a day of making plans. The individual Christmas cake gifts he cuts out from a big slab of fruitcake each year, using what sounds like an old baked bean can, will be iced with their trimmings reaching all the way down their sides instead of just on top.
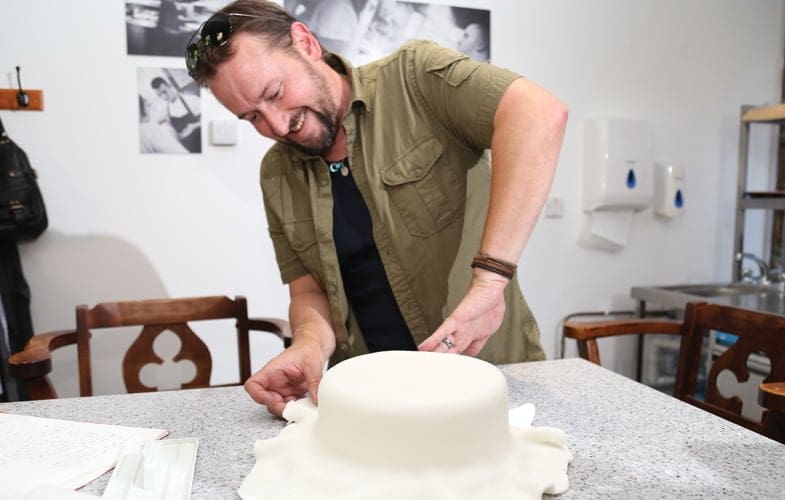
“I’m surprised how easy this is,” he says merrily as I take over his camera (!) and snap him fixing together a mock wedding cake.
It isn’t easy. This is only for the meticulous and sincerely patient. But it’s true that, with a little care, you can make a lovely-looking cake.
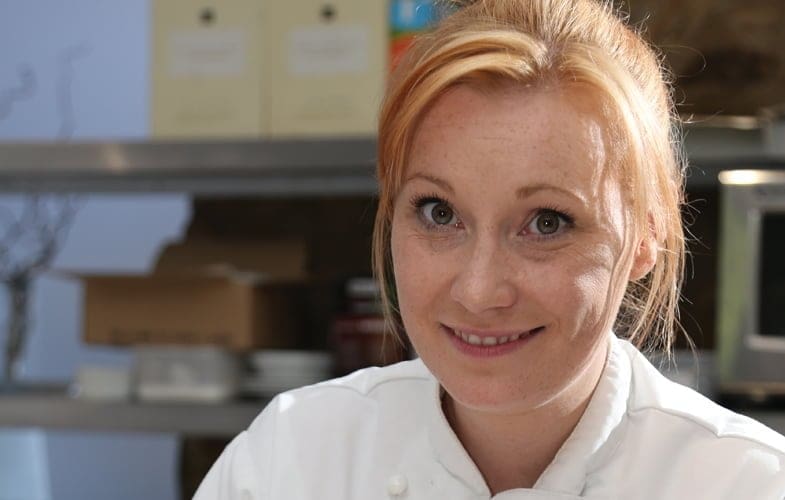
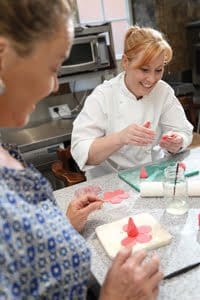
Former hairdresser Emma Bell joined the Blackfriars team in October last year after re-training as a patisserie chef. It was something she’d always wanted to do during years of presenting elaborate birthday cakes to her three daughters and family. She now divides her time at Blackfriars between making desserts in the restaurant kitchen and preparing wedding cakes for the growing number of nuptials in the banqueting hall. From November, she’ll also be running a two-day course in cake decorating in the Blackfriars cook school, where 120 workshops a year are delivered in skills ranging from bread making to butchery, dinner parties to children’s cookery.
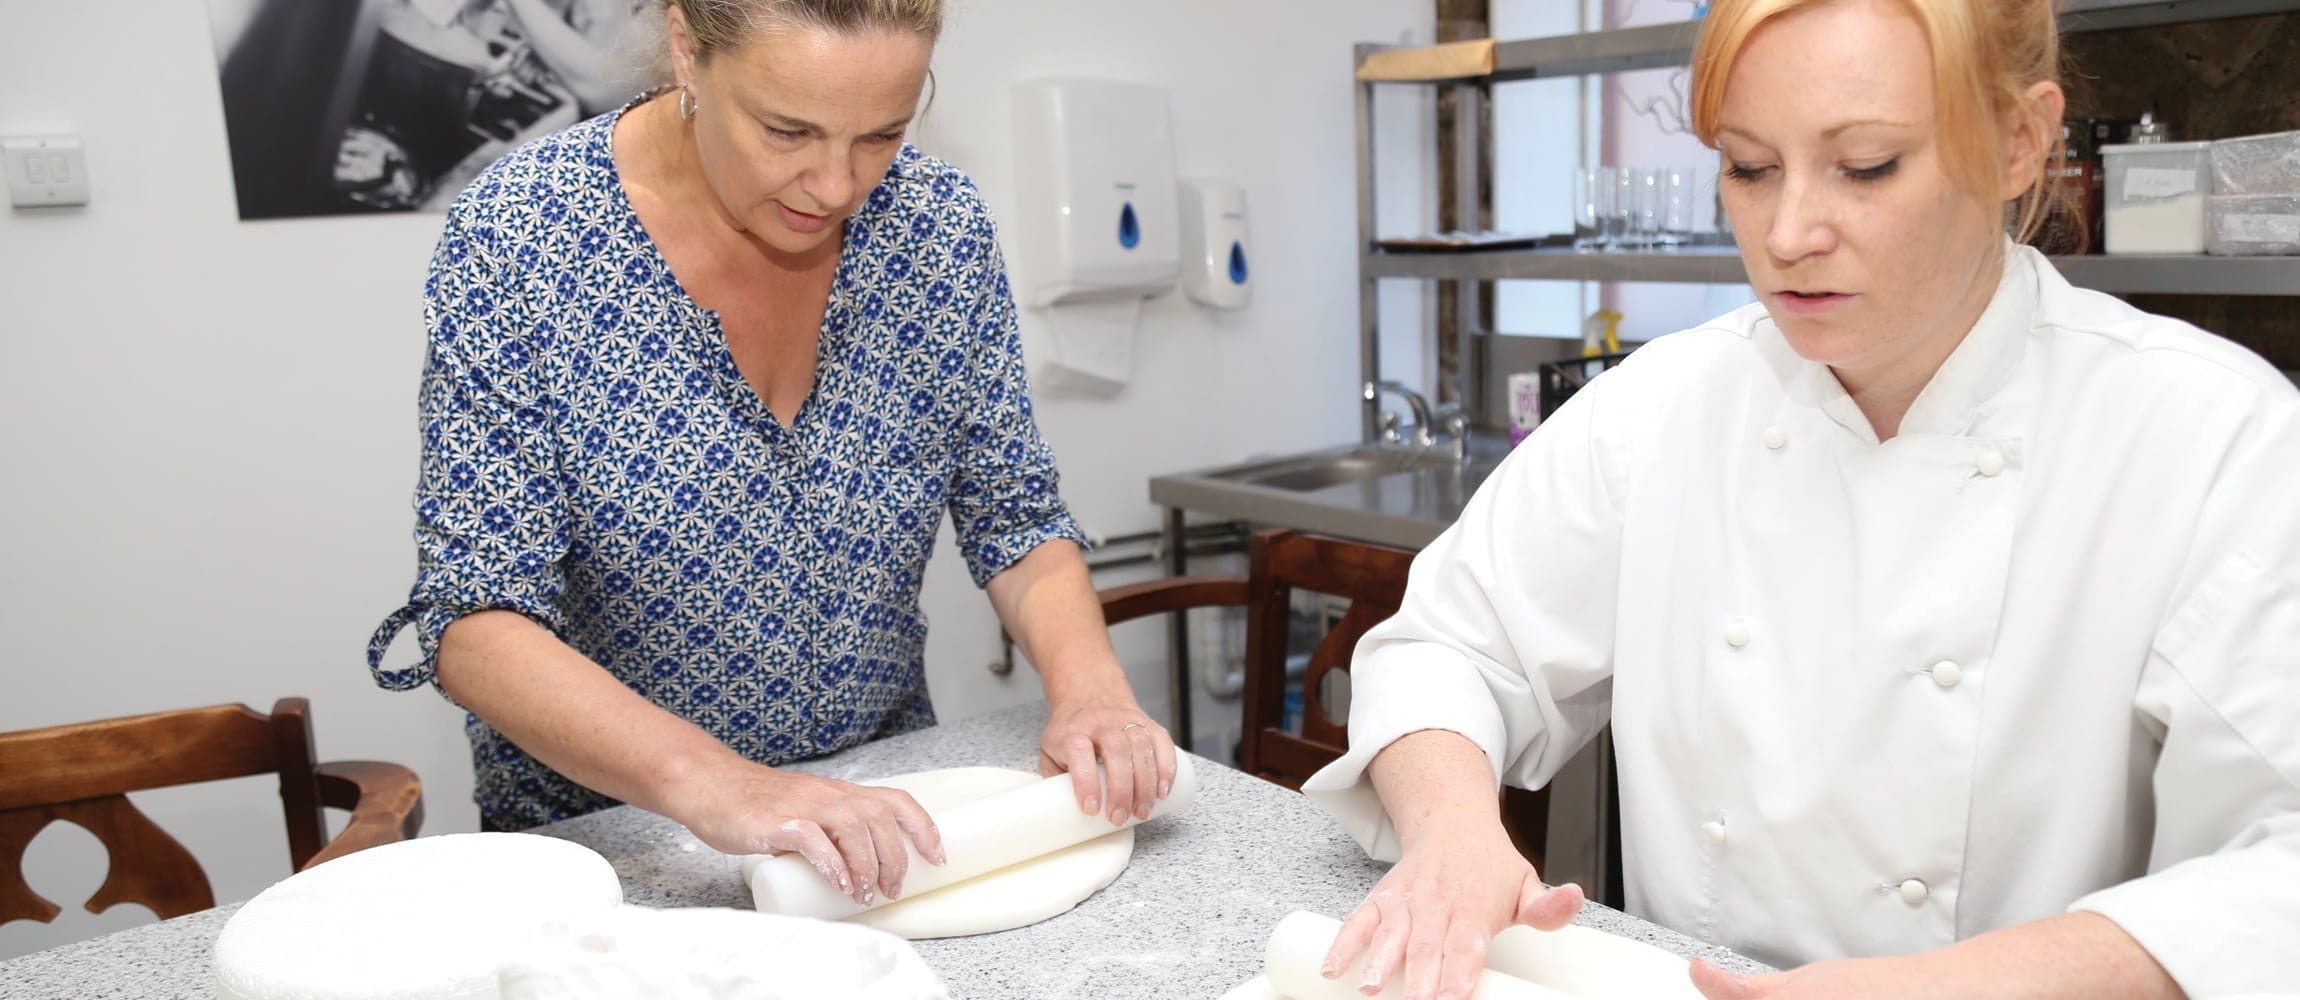
 “The biggest tip is to take your time,” Emma says, as we each knead together two 500g blocks of fondant icing (bought – it tastes good and it’s much simpler, she says). You do this until it easily forms ball. If it sticks to the table, put a little icing sugar or cornflour down. Then you roll it out, just like pastry, turning regularly until you’ve got a round sheet about 2mm thick. We’re using a hollow cake mould, but with a real cake, particularly a nobbly fruit one, you’ll need to line it with a layer of marzipan, buttercream, or chocolate ganache. When making wedding cakes, Emma uses two thin buttercream linings to get a perfect surface, leaving each an hour to set.
We now take our icing and fold it in half over the rolling pin and lay it out over the cake. Once settled, move all the edges away from the sides, so creases don’t form.
We’re fascinated to see how Emma’s going to make all the loose folds that form a skirt round the sides go away. Cut them?
No, this isn’t dressmaking. First, we smooth down the top of the cake using a flat instrument, then press the palms of our hands gently round the top edge, making sure to keep lifting the bottom edge away from the cake.
Once it sticks, it’s really hard to get off.
From the top of the sides, use the palms of your hands and go round and round the cake, smoothing the icing down, and gently pressing as you get lower. Don’t drag, or you’ll tear. Be slow, gentle and patient.
And lo and behold, it works! Peter does most of ours and we can’t quite believe our success. The loose skirts somehow disappear into a beautifully even cake, which we then smooth and caress, working at the little dimples and imperfections with the tool.
 This part is not easy, not if you want perfect. Emma, who’s been doing this for years, will typically take an hour here, taking a pin to any tiny air bubble.
Another tip – if it’s dry and it cracks, take a bit of Trex on your fingers (yes, lard!) and smooth it in. I keep thinking of my friend Jane (editor of this magazine) who made our beautiful wedding cake, and all the time that went into it. Not a single dimple, and she’d never done it before. The process now demystified, I appreciate it all the more.
Now for the rose. We don’t use liquid colour (it affects the consistency) but a paste, which is folded in.
Next, a teaspoon of Tylo powder, which will make the rose sturdy when set. We make a small pink cone, and then roll out the rest of the icing and press out some petals with a mould. Using edible glue, these are stuck to the bulb in turn. Mine looks surprisingly rose-like until I see Emma’s, which makes mine look pathetic. “It took ages to get to this level,” she says kindly as we stick them on the top at a jaunty angle.
Using royal icing, we pipe little spots and join them with lace a lace design around the top sides of the cake, starting at the back where mistakes are less obvious. Emma goes the whole hog and takes a wet paintbrush to eliminate imperfections. It looks beautiful. It takes a while, obviously, but I’m amazed at how do-able this is. Peter seems to think I’ve rather spoilt our concoction, but at least we’ve learnt the basic theory.
 “It’s much easier if you use white on white,” Emma says. “Coloured icing will stain the white fondant layer, and if you go wrong, it’s a nightmare to hide it.”
We finish by sticking on a ribbon, again using icing. On the course, you will learn much more intricate tricks, so you can impress friends and family for years. Just make sure you’re the patient type…
Emma’s Cake Decorating course is November 22-23. The £180 charge includes lunch each day at the adjoining Blackfriars Restaurant. She’ll provide you with a fruit cake for an additional £30, or you can practice on a dummy or bring your own. For more on this or any of the other Blackfriars courses, visit www.blackfriarsrestaurant.co.uk